
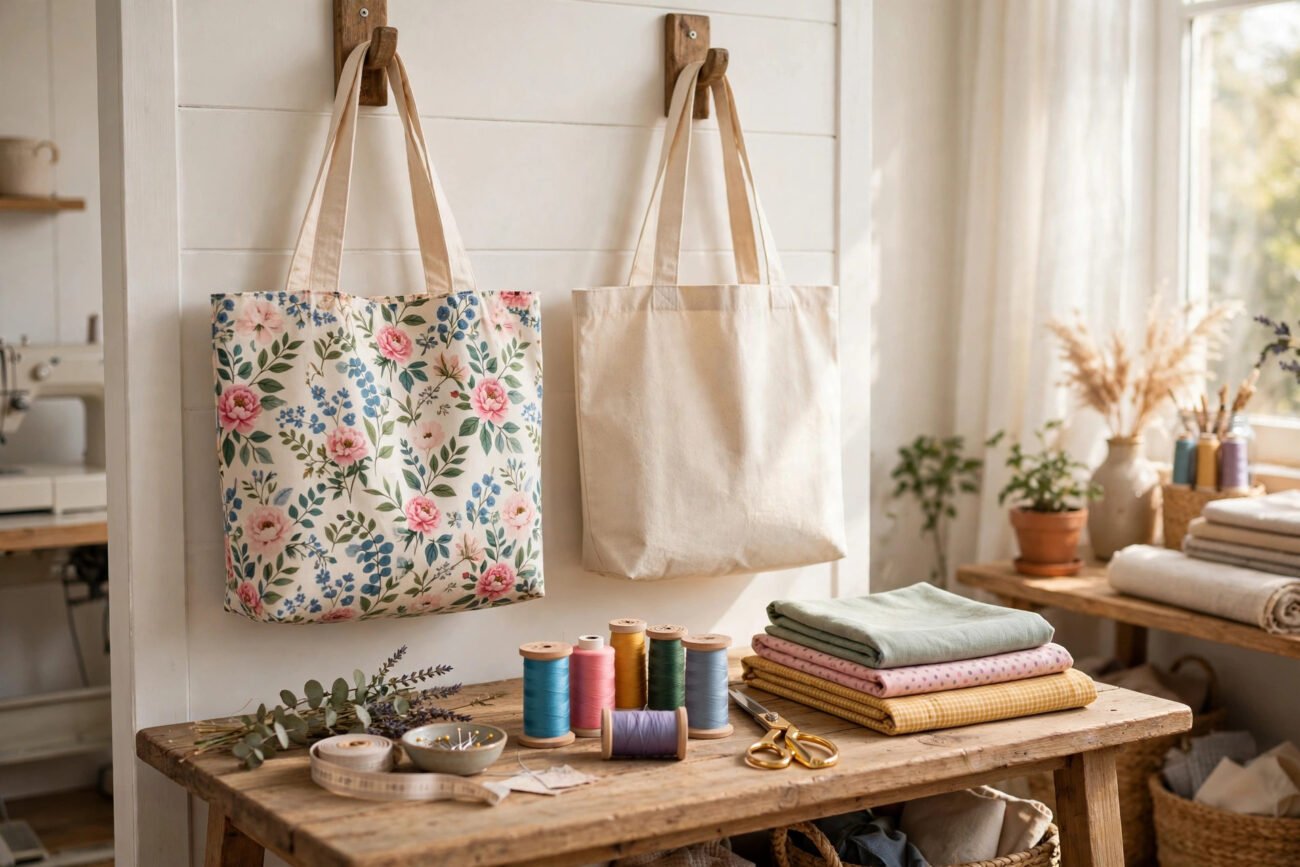
How to Sew a Tote Bag: An Easy Step-by-Step Tutorial for Beginners
A handmade tote bag is the perfect first sewing project. It is useful, it is forgiving of small mistakes, and you can finish it in a single afternoon. In this tutorial you will learn how to sew a sturdy, lined tote bag with boxed corners and comfortable handles — no pattern pieces to buy, just simple rectangles you cut yourself.
What You Will Need
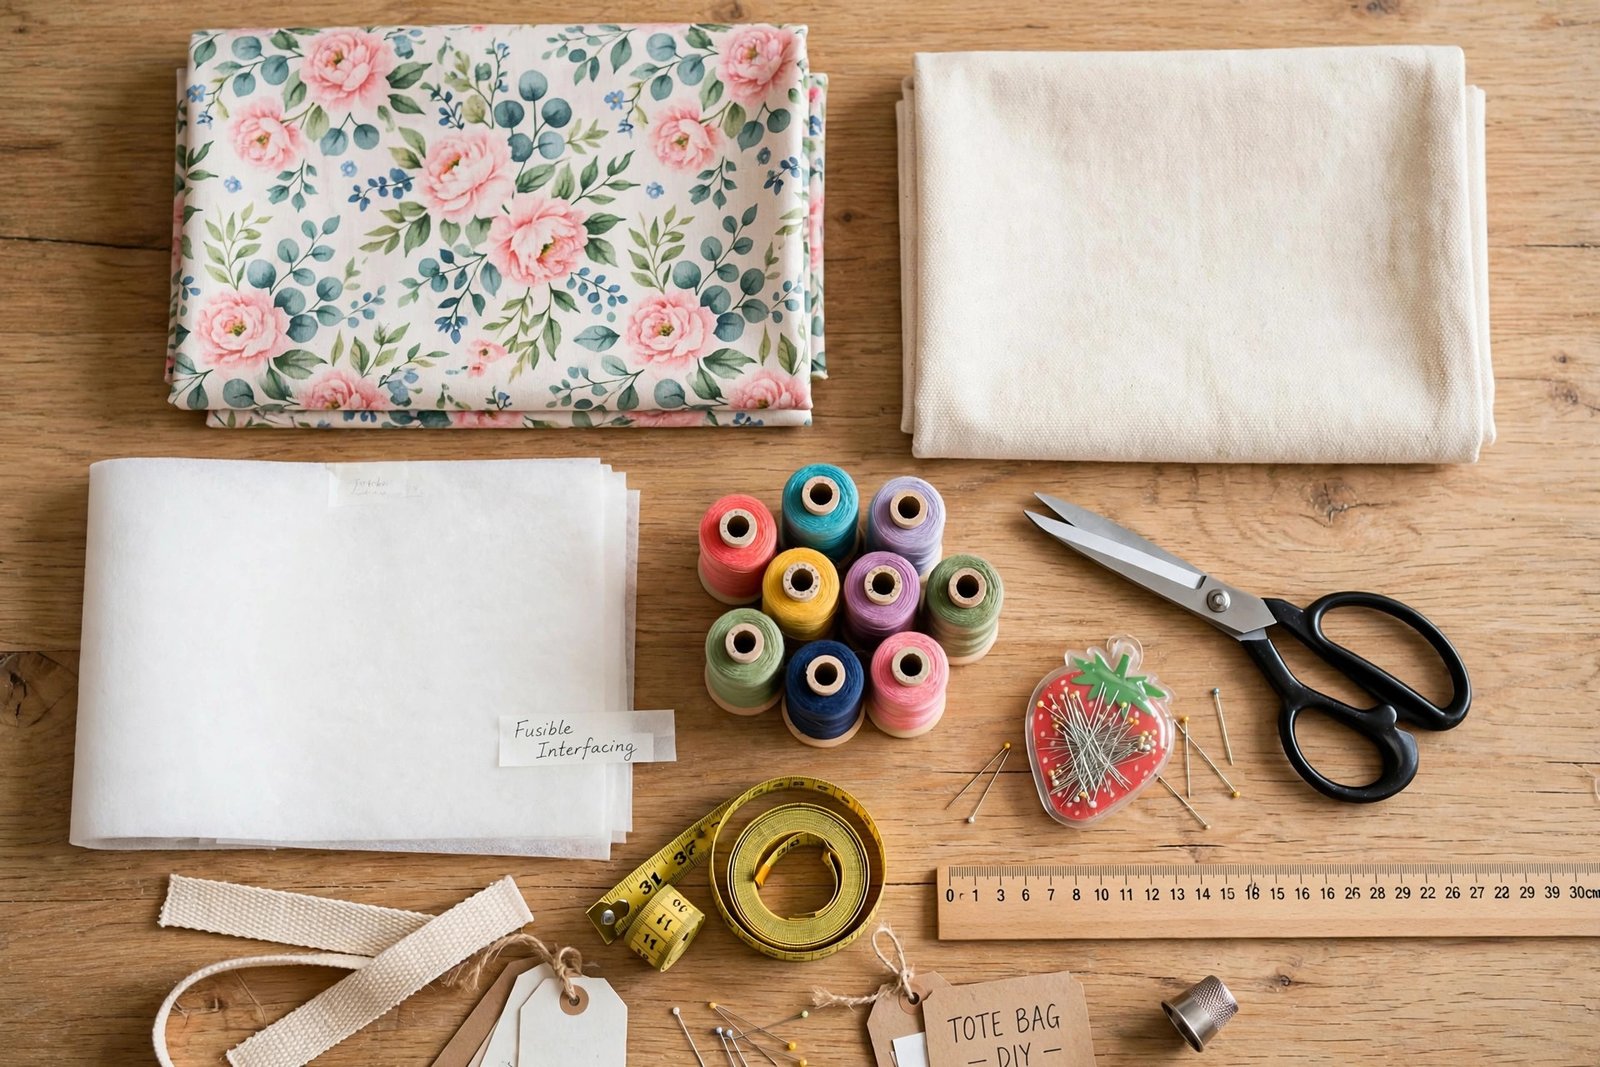
- 1/2 yard of sturdy cotton or canvas fabric for the outside
- 1/2 yard of quilting cotton for the lining
- 1/2 yard of medium-weight fusible interfacing
- Matching all-purpose thread
- Sewing machine with a standard presser foot
- Fabric scissors or a rotary cutter and mat
- Pins or sewing clips
- Iron and ironing board
- Ruler and fabric marker
Cutting Your Fabric
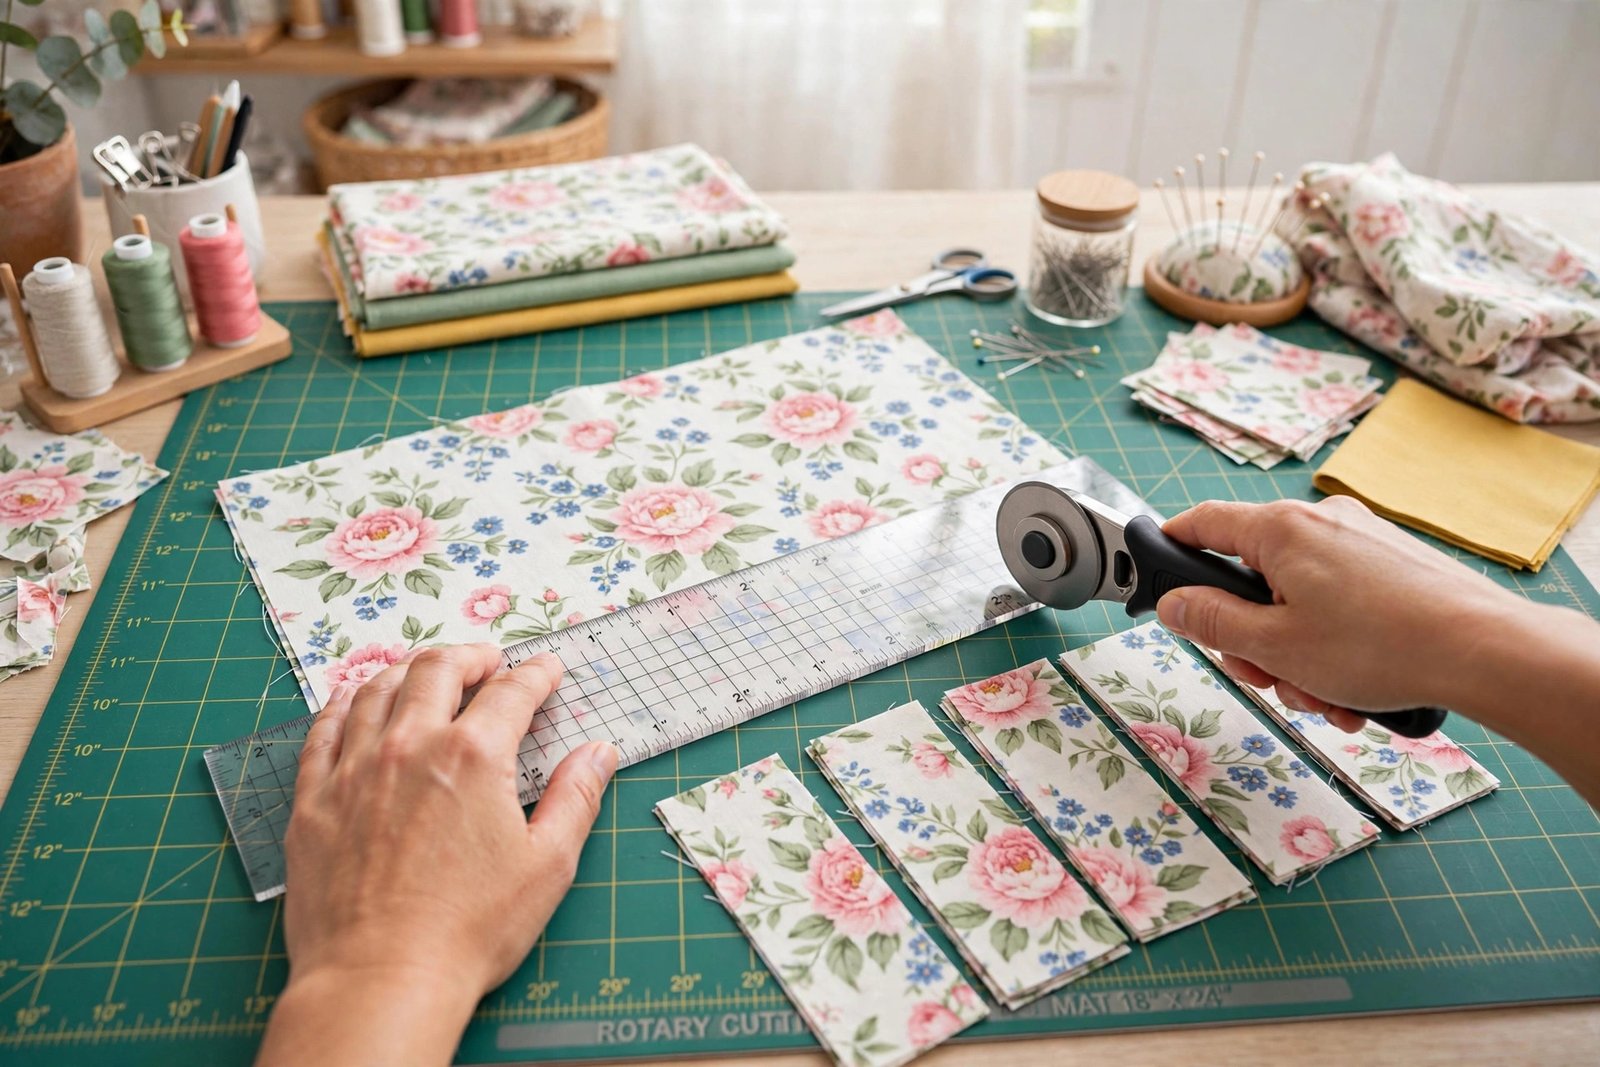
From both the outer fabric and the lining, cut two rectangles measuring 16 inches wide by 15 inches tall. From the outer fabric, also cut two handle strips measuring 4 inches wide by 22 inches long. Cut two pieces of interfacing the same size as your main rectangles, and fuse them to the wrong side of the outer fabric pieces following the manufacturer’s instructions. Press everything flat before you start sewing — a few minutes with the iron makes every seam easier.
Step 1: Make the Handles
Fold each handle strip in half lengthwise with wrong sides together and press. Open it up, then fold both long edges in to meet at the center fold and press again. Fold the strip in half once more so all the raw edges are hidden inside, and press. Topstitch along both long edges with a 1/8-inch seam. You now have two strong, tidy handles.
Step 2: Sew the Outer Bag
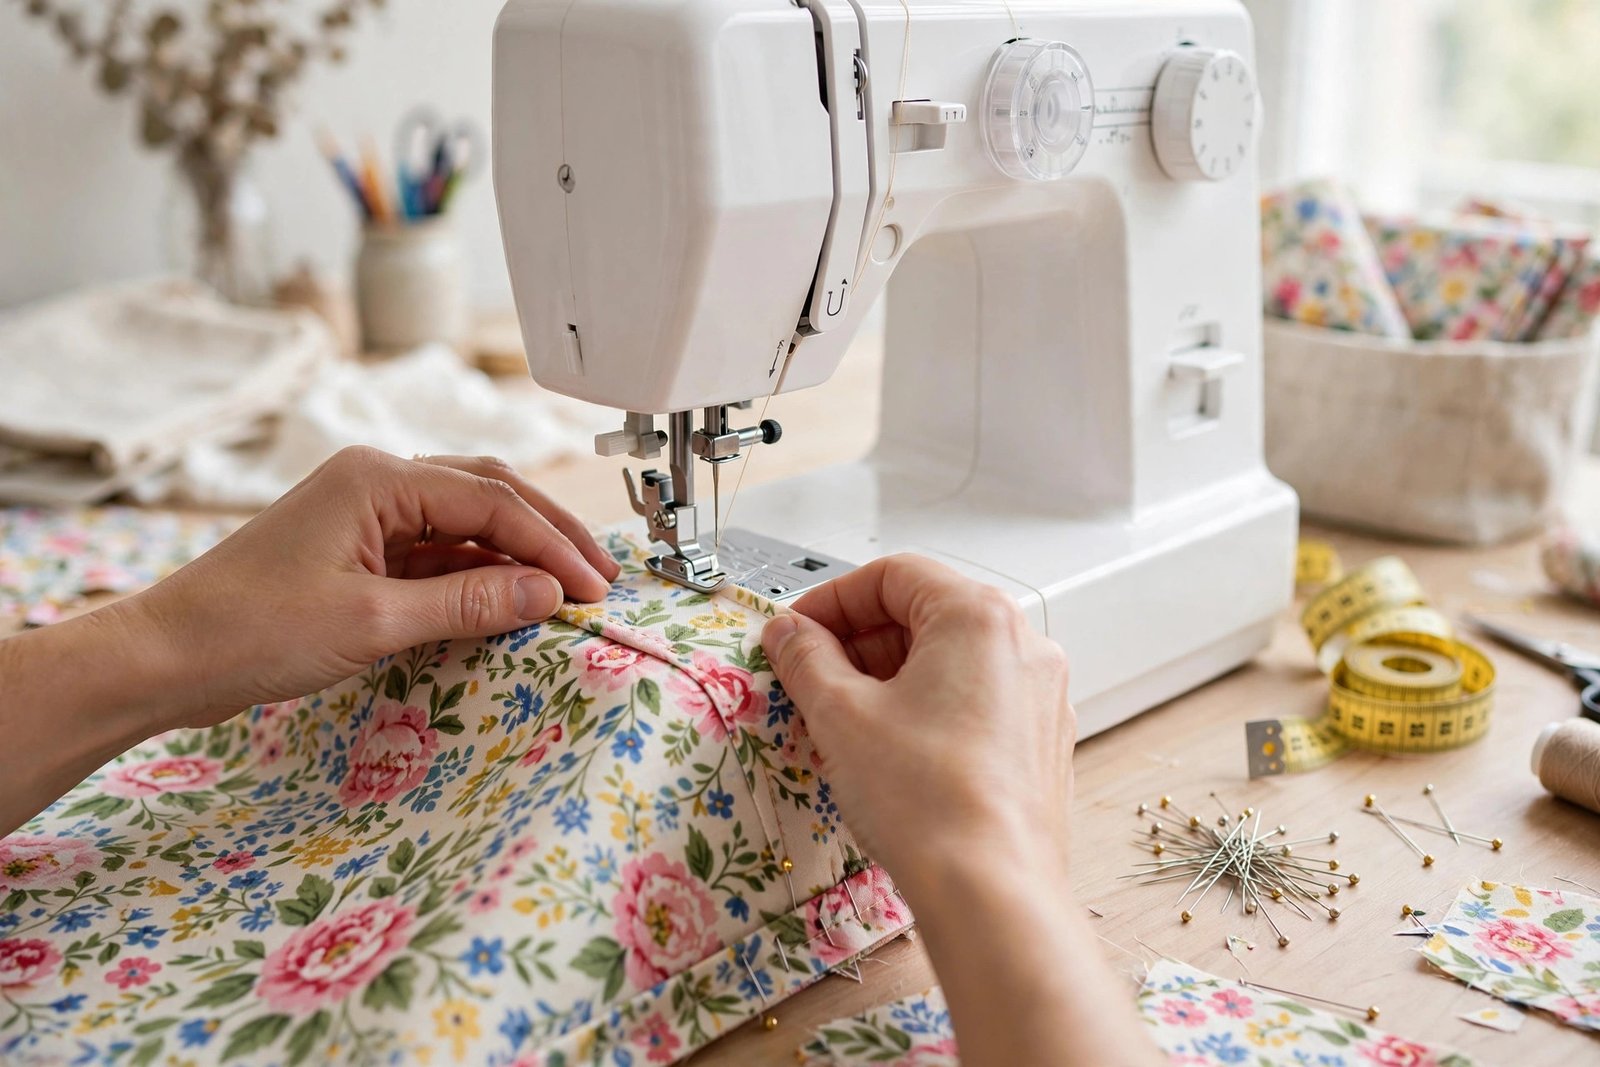
Place the two outer rectangles right sides together. Pin along the sides and bottom, then sew with a 1/2-inch seam allowance, pivoting at the corners. Leave the top open. Press the seams open or to one side.
Step 3: Box the Corners
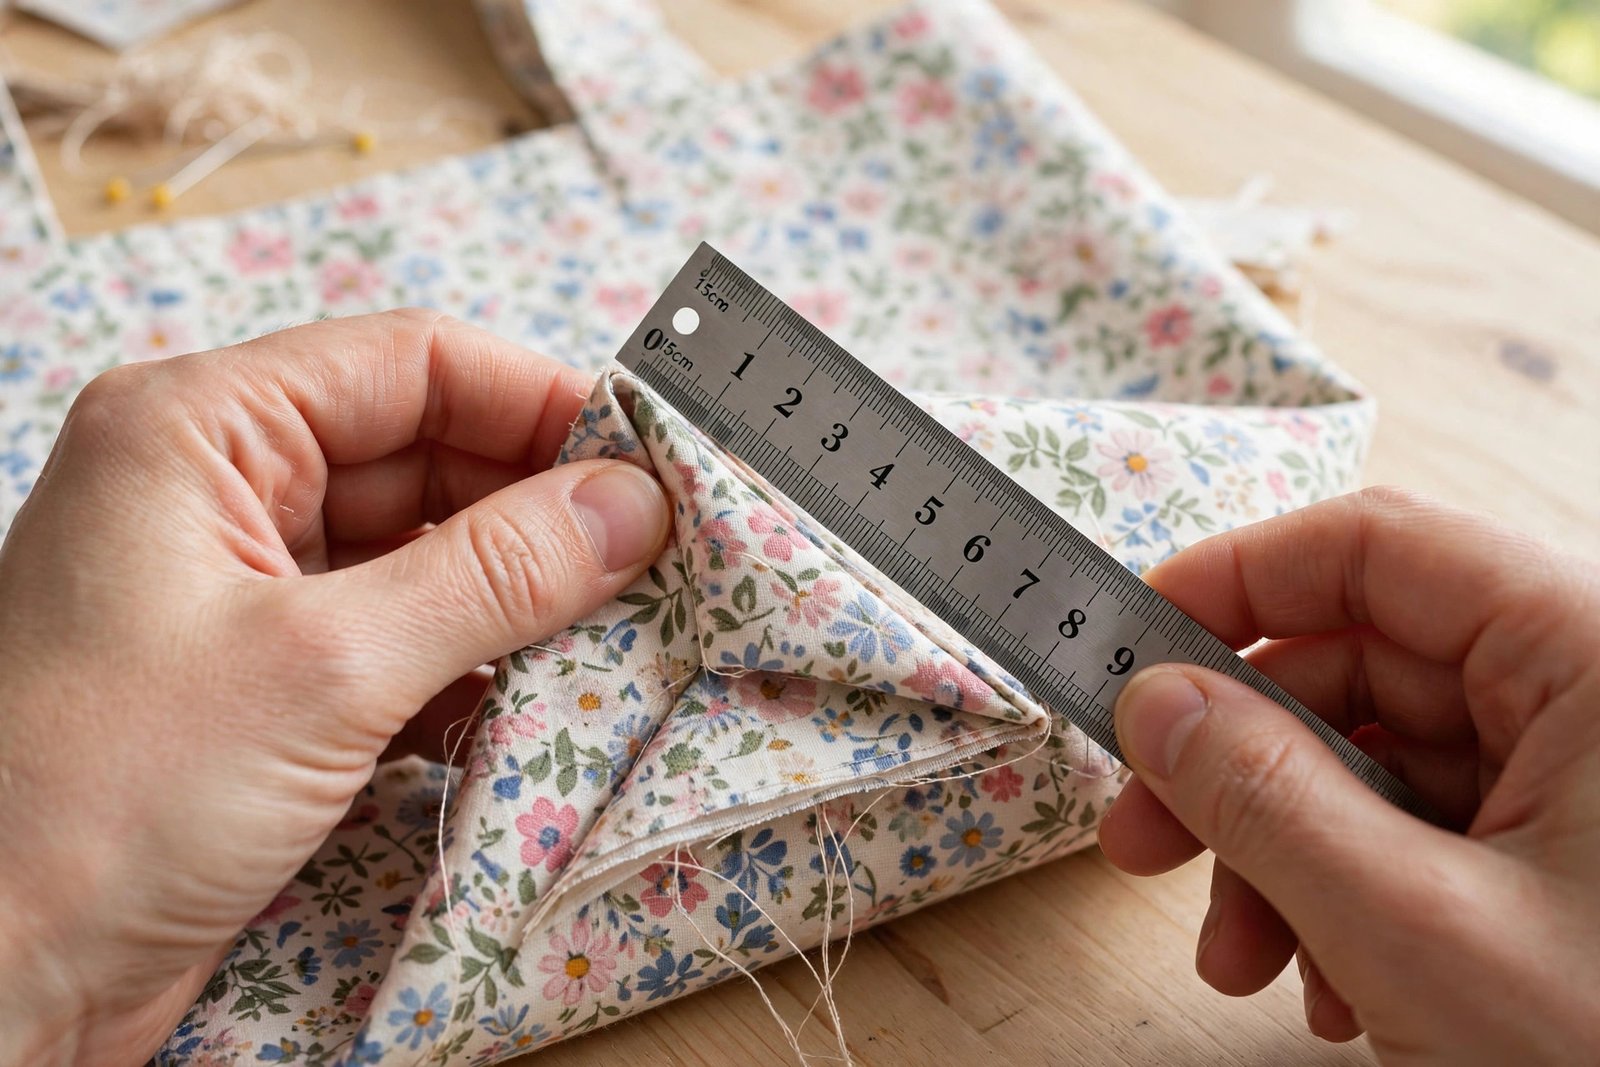
Boxed corners give your tote a flat bottom so it stands up on its own. Flatten one bottom corner of the bag so the side seam lines up with the bottom seam, forming a triangle. Measure 2 inches in from the point and draw a line across the triangle. Stitch along that line, backstitching at both ends, then trim away the triangle leaving a 1/4-inch seam allowance. Repeat on the other corner.
Step 4: Sew the Lining
Repeat Steps 2 and 3 with the lining rectangles, but leave a 4-inch gap unsewn in the middle of the bottom seam. You will use this opening later to turn the bag right side out. Box the lining corners exactly the same way as the outer bag so the two layers fit together neatly.
Step 5: Attach the Handles
Turn the outer bag right side out. On the front of the bag, pin the raw ends of one handle 4 inches in from each side seam, with the handle loop hanging down toward the bottom of the bag. Baste the ends in place with a scant 1/4-inch seam. Repeat on the back with the second handle, making sure it is not twisted.
Step 6: Join the Bag and Lining
Slide the outer bag inside the lining so the right sides are facing each other and the handles are tucked between the layers. Line up the side seams and the top edges, then pin all the way around. Sew around the top with a 1/2-inch seam. Reach through the gap in the lining, pull the whole bag right side out, and push the lining down inside the bag. Press the top edge carefully, then topstitch around the top 1/4 inch from the edge — this closes the layers neatly and keeps the lining in place. Finally, stitch the gap in the lining closed by hand or by machine.
Tips for a Professional Finish
- Press every seam. Pressing is the difference between “homemade” and “handmade.”
- Use a walking foot if your canvas is thick, to keep the layers feeding evenly.
- Reinforce the handles by sewing a small square with an X where each handle meets the bag.
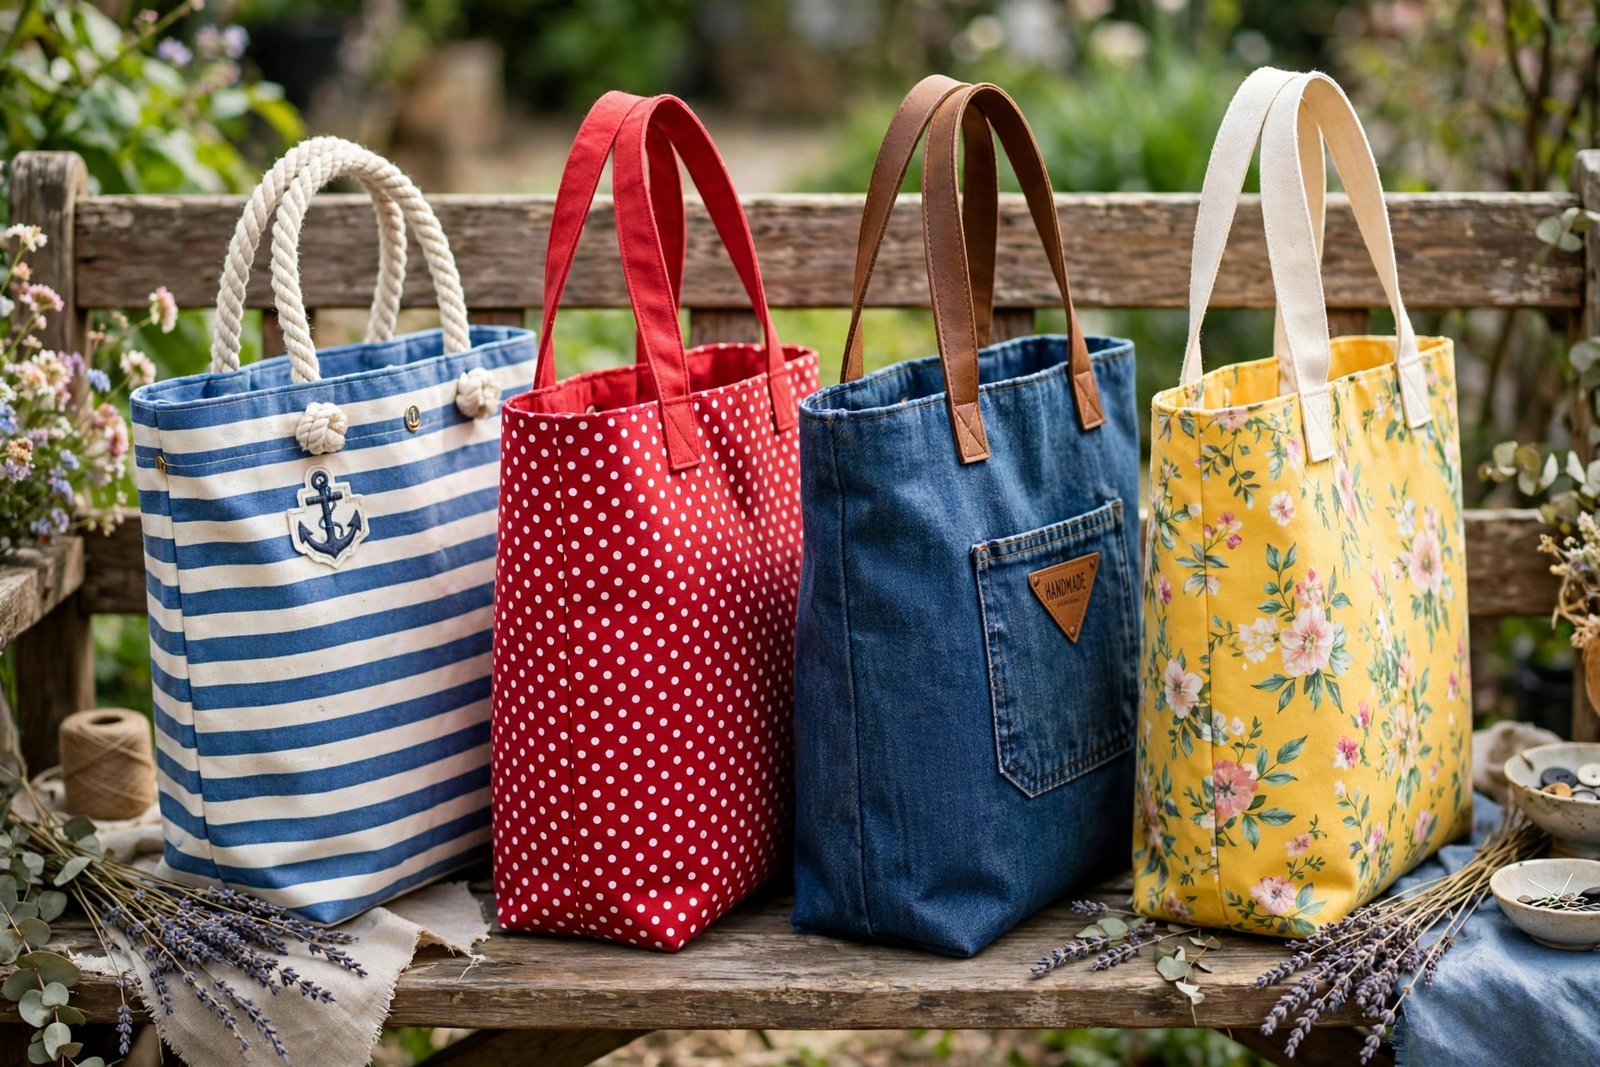
- Try contrast lining. A bright lining fabric makes the bag feel special every time you open it.
Conclusion
Your first tote bag is done — and it only gets easier from here. Once you have made one, try changing the size, adding an inside pocket, or using a waxed canvas for a market bag. This simple project teaches cutting, straight seams, boxed corners, lining, and topstitching: the core skills behind almost every bag you will ever sew.
Frequently Asked Questions
What is the best fabric for a beginner tote bag?
Quilting cotton paired with fusible interfacing is the easiest combination for a first bag. Canvas and denim also work well and need less interfacing, but they are thicker and a little harder to sew through at the corners.
How long does it take to sew a tote bag?
Most beginners finish this tote in 1.5 to 2 hours, including cutting and pressing. Your second bag will likely take under an hour.
Can I sew this tote bag by hand?
Yes, with a backstitch and a sturdy needle it is completely possible, though it will take longer. A machine makes the long straight seams and handle topstitching much faster and stronger.
How do I make the tote bag bigger or smaller?
Simply change the size of your starting rectangles. Add 2 inches to the width and height for a large shopping tote, or subtract 3 inches for a small lunch bag. Keep the corner measurement the same for a similar base shape.

7 thoughts on “How to Sew a Tote Bag: An Easy Step-by-Step Tutorial for Beginners”